Sunday, January 18, 2026

War of the Roses - First Forray

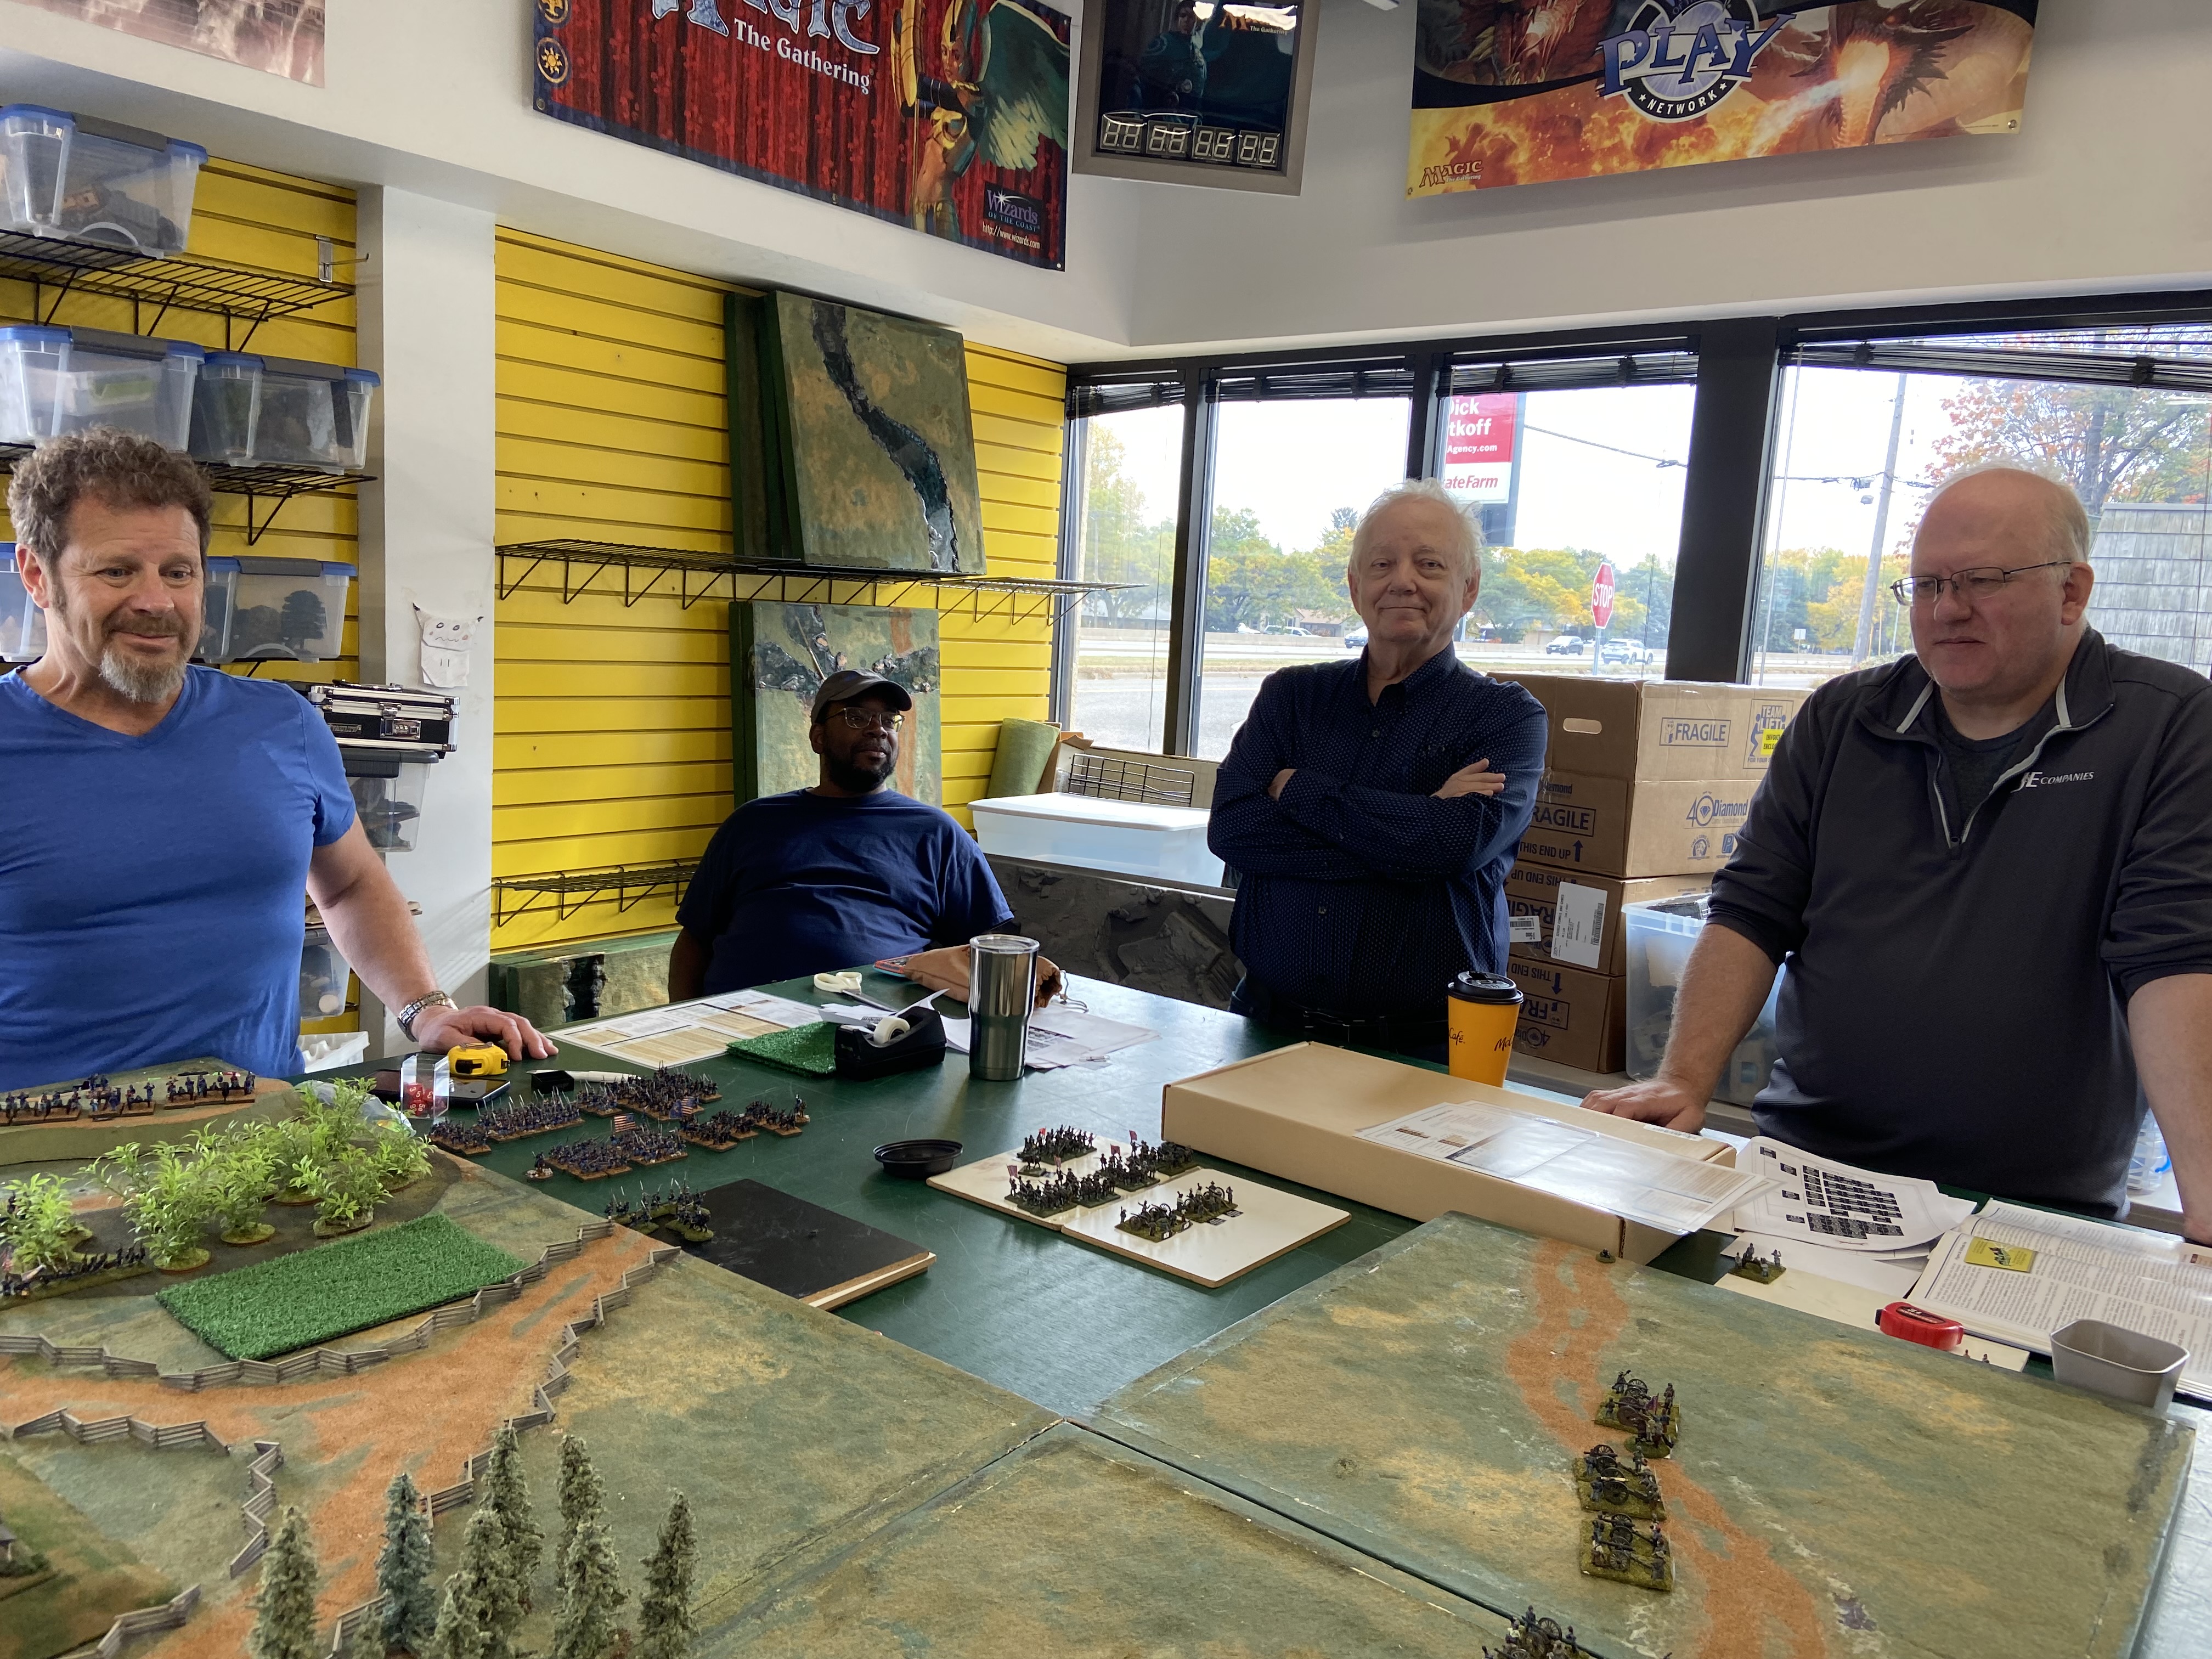
 On Saturday January 17, 2026 the Centurions wargaming club hosted their first game Field of Glory, Ancient and Medieval: 3rd Edition set during the Wars of The Roses.  The Wars of the Roses has long been a passion project of mine.  Seeing the game on the tabletop, even in it’s incomplete form, brought me a lot of joy.  It also inspired me to complete more figures from my gray pile of shame.

The Wars of the Roses, a dynastic struggle between the House of Lancaster and House of York, lasted from 1455 to 1487, vying for control of the English throne.

The Centurions game was a fictional encounter diving up the sides, putting 12 units on the Yorkist side facing off against 8 units and two light units and a light gun on the Lancastrian side.  

Yorkist forces on the top
Lancastrian on the bottom


Both sides initially surged towards one another closing to long range bow fire when the majority of the Yorkist side paused and the Lancastrian Left and Center closed the gap.

Positions in the center
after both sides closed 

Lancastrian Right at the Pause


The forces of Stanley were outnumbered on the Left of the Lancastrian line and determined the best defense was a good offense.  The Longbowmen charged the Yorkist Longbowmen on the other side.
The Lancastrian Left
 
With the Left of the line engaged the Lancastrian Center moved forward, slowly and methodically. 

The Lancastrian Center closes
the gap.

The forces of Stanley were routed from the field on the Lancastrian Left, but the Lancastrian Center broke the Yorkist Line and began pushing outwards.

The Yorkist Center Collapses


The Forces

Lancastrian

  • Rys ap Thomas
    Stanley
    • 6 Stands of Archers
    • 6 Stands of Men at Arms
  • Rys ap Thomas
    • 6 Stands of Archers
    • 4 Stands of Men at Arms
    • 4 Stands of Billmen
  • Earl of Oxford
    • 6 Stands of Archers
    • 6 Stands of Men at Arms
  • Unnamed Duke
    • The Earl of Oxford
      6 Stands of Hand Gunners
    • 4 Stands of Light Cavalry (Scurrors)
    • 1 Stand Light Gun

York

  •  Unnamed Yorkist
    • 6 Stands of Archers
    • 6 Stands of Archers
    • 6 Stands of Billmen
  • Unnamed Yorkist
    • 6 Stands of Archers
    • 6 Stands of Archers
    • 6 Stands of Billmen
  • Unnamed Town Militia
    • 6 Stands of Archers
    • 6 Stands of Billmen
    • 6 Stands of Billmen
  • Unnamed Town Militia
    • 6 Stands of Archers
    • 6 Stands of Archers
    • 6 Stands of Billmen

Lessons Learned

Game Play

  • Even though the base measurement increases from 1 inches to 1 1/2 inches units need to start closer together.  We started approximately 36 inches apart, and while the turns moved quickly it was still three turns to get within range as both sides closed.   At most 24 inches. 
  • On a 12 foot wide table the largest game could be 15 units per side.
  • It will be interesting to see other unit types on the battle field, Pike, Spearmen, Combined Battle Groups, and Strakes.

Rules

  • All foot in this period are NOT shock troops except Mercenary Pikemen.
    • Big Bad Butch Men-at-Arms wielding a variety of nasty can openers are not a shock unit.
  • The order for post combat is Commander Killed, Death Roll, Cohesion Check 
  • Pole Arms reduce the opposing armor by one step, protected becomes unprotected.
  • Longbowmen, crossbowmen (and combined units) need to pass a CMT to charge.

Tactics

  • A unit of Men-at-Arms, Heavily Armored, Superior, Drilled, is 17 points per base well spent. 
  • Canons are pretty but with a range of 9 inches, not worth the points.

Friday, May 23, 2025

War of the Roses - Census and Planning

First Battle of Saint Albans
The Centurions are working towards gaming the Era of the War of the Roses.   It has been a ten year
cycle in discussion, planning, and painting.  As other get their figures painted, for some that is quite literally what is happening, I has come time for me to knuckle down and finish what I am working on.

  • Henry VII (Tudor) Inspired Commander and my Claimant
  • John de Vere (Earl of Oxford) Field Commander
  • Rhys ap Thomas (Welsh) Field Commander
  • Four stands of Heavily Armored Mounted Men at Arms (Henry's Body Guard)
  • Two stands of Light Guns
  • Six stands of Hand Gunners
  • Four Stands Heavily Armored Men-at-Arms (Oxford Livery)
  • One Stand Heavily Armored Men-at-Arms (Welsh Livery)
  • Four Stands Armored Men-at-Arms (Welsh Livery)
  • Eight Stands Protected Longbow Men (Welsh Livery)

On the Painting Table
  • Two Stand Heavily Mounted Men-at-Arms (Oxford)
  • Three Stands Heavily Armored Men-at-Arms (Welsh Livery)
  • Six Stands of Longbow Men (Oxford Livery)
  • Philibert de Chandée (French Livery)
  • Eight Stands of French Crossbowmen (French Livery)
  • Eight Stands of French Pike Men (French Livery)
  • Six Stands of Currors (Oxford Livery)
We will not talk about my gray pile of shame, it's quite large for this period, I could easily double the figures I have painted and on the painting table probably quadruple, so let's not go there.

My painting plan for the first round of painting is for a main force, under the Earl of Oxford:
  • John de Vere (Earl of Oxford) Field Commander
  • Troop Commander (Unnamed)
  • Six Stands of Heavily Armored Men-at-Arms
  • Six Stands of Armored Billmen
  • Six Stands of Longbow Men
  • Six Stands of Longbow Men
And a secondary force under Rhys ap Thomas:
  • Rhys ap Thomas - Field Commander
  • Four Stands of Heavily Armored Men-at-Arms
  • Four Stands of Armored Billmen
  • Eight Stands of Longbow men
The French are not the focus of the first round of painting.

This leaves the following to be painted:
  • Two Stands of Heavily Armored Men-at-Arms (Oxford Livery)
  • Six Stands of Armored Billmen (Oxford Livery)
  • Twelve Stands of Longbow Men (Oxford Livery)
  • Three Stands of Heavily Armored Men-at-Arms (Welsh Livery)
That is a total of 80 figures, give or take.   
It may seem backwards but I am going to start by finishing up the Welsh under Rhys ap Thomas first.  They have the least amount of work and if push comes to shove I have at least one command to play.  Than I plan on moving into the forces under Oxford.

Wednesday, March 12, 2025

Battle of Fort Johnson

Utilizing a variation of "The Men who would be Kings" the Centurions played through a scenario set during the South Carolina Campaign of the American War of Independence.

Photographs by Lawrence Newman
Music by the Old Guard Fife and Drums Corps

Sunday, October 20, 2024

Photo Dump - Pickett's Charge

Pettigrew's Division

Pickett's Division

Union Right

Union Left

8th Ohio

Lang's Brigade in front to Garnett's Brigade

Artillery, Lang's Brigade and Garnett's Brigades.

Garnett's Brigade

Joe "Pettigrew"

Marty "Baxter" and Odin "Hancock"

Steve "Stannard", Ezra "Union Reinforcements" with Statler and Waldorf "Tom and Terry"

Pickett's Brigade Rumbles Forward

Wilcox's Brigade on the Edge of the World

Confederate Right, Kemper and Wilcox's Brigades

Confederate Right, Garnett, Lang, Kemper and Wilcox's Brigades

Joe "Pettigrew", Jim "Trimble" and Rolf "Smyth"


Baxter is marching on.

Confederate Right

Confederate Right

View Confederate Right from the Center

Confederate Artillery Line

Confederate Left

Confederate Center

Confederate Center

Armistead's Brigade

Confederate Center after Armistead's Brigade marches on.

Pettigrew to the Wall.

Pettigrew charge was checked.

Ending Positions at the allotted end time of our game.

A wider shot.


From the Confederate Perspective prior to the Start of the Battle.
Photo by Joe Knight

Pettigrew's Division
Photo by Joe Knight

Pettigrew's Division
Photo by Joe Knight

From North looking South
Photo by Joe Knight

Pettigrew's Division
Photo by Joe Knight

Union Line
Photo by Joe Knight

Union Line
Photo by Joe Knight

Union Line from the South
Photo by Joe Knight

Union Reinforcements
Photo by Joe Knight

Pickett's Division
Photo by Joe Knight

Pickett's Division
Photo by Joe Knight

Union Line
Photo by Joe Knight

Pettigrew's Division
Photo by Joe Knight

Trimble's Division
Photo by Joe Knight

Pettigrew and Trimble's Divisions
Photo by Joe Knight

Pettigrew and Trimble's Division
Photo by Joe Knight

Looking South
Photo by Joe Knight

Pettigrew Closes
Photo by Joe Knight

Pickett's Charge
Photo by Joe Knight

Pettigrew's Charge
Photo by Joe Knight

Pettigrew and Trimble's Division
Photo by Joe Knight

Looking south at the end of our game.
Photo by Joe Knight

Looking South
Photo by Joe Knight